
 Україна
 Méjico
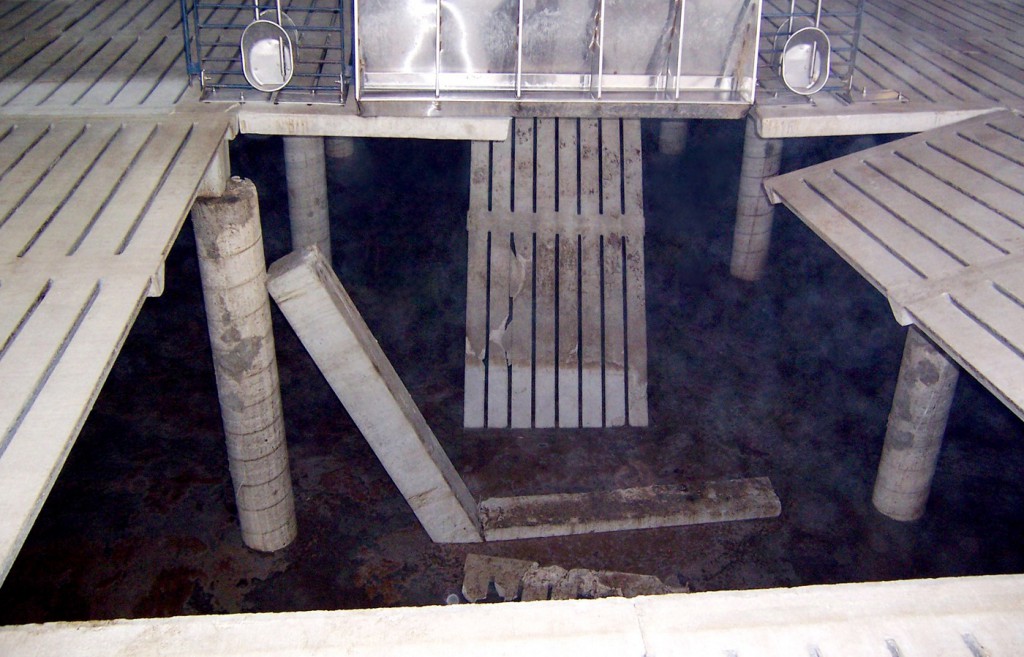
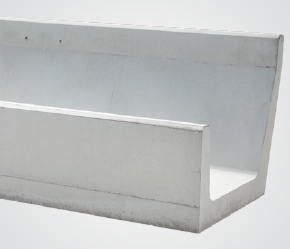
Andy Altenburg is an expert when it comes to bad slats. Sitting at a massive, 1200-pound conference table made with a full-size concrete slat, the owner of Altenburg Construction in Lewisville, MN explained how he got started in the business.
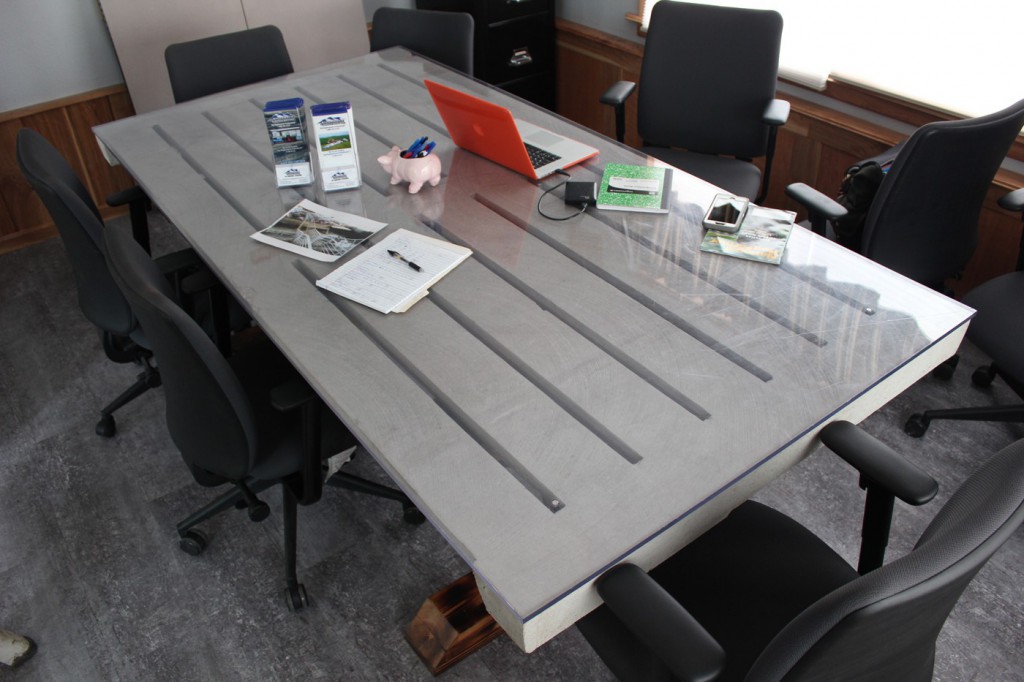
Altenburg Construction Conference Table
“I was working for a local producer at a nursery site. We were building new buildings like crazy during that time and got behind grouting slats. Grandpa had an old portable mixer out back, and I figured I could mix cement and sand together, and I needed the money. Later I started repairing slats, and when some of the slats were too bad to fix I figured out a way get the old ones out and new ones in.”
“Our goal from the very beginning was to develop tools to make slat replacement faster with less labor. We developed and manufactured the machines we needed learning as we went. Our volume continues to grow each year because we are getting more efficient. We are on track to replace 20,000 slats by the end of 2016.”
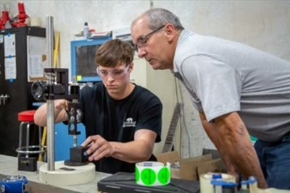
Project Manager, Tyler Sauck explained some guidelines to use when examining the condition of slats in a facility.
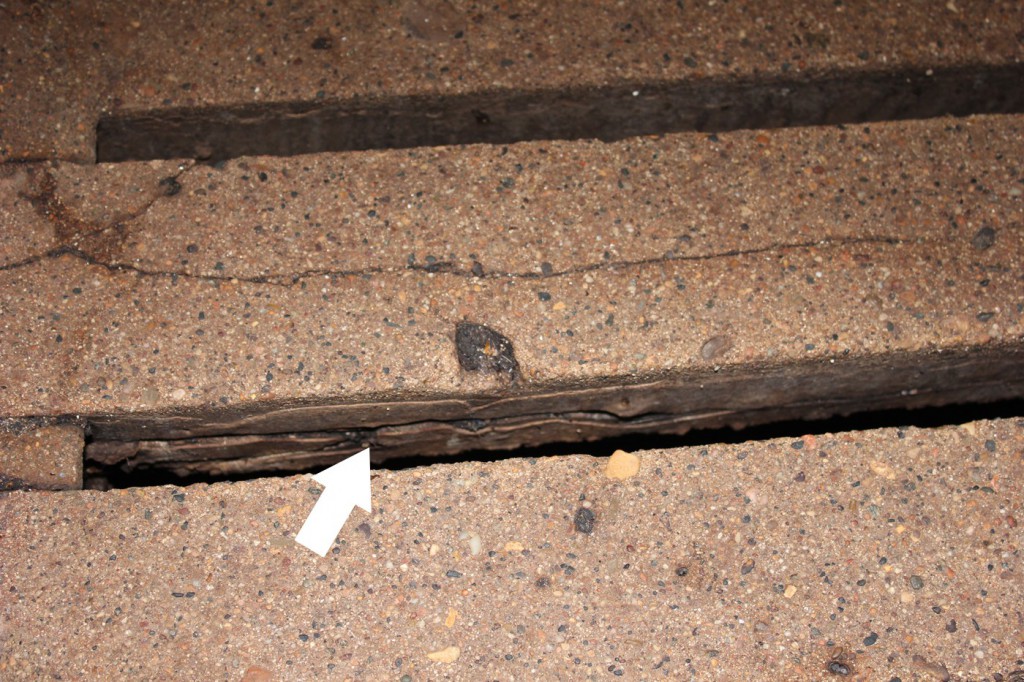
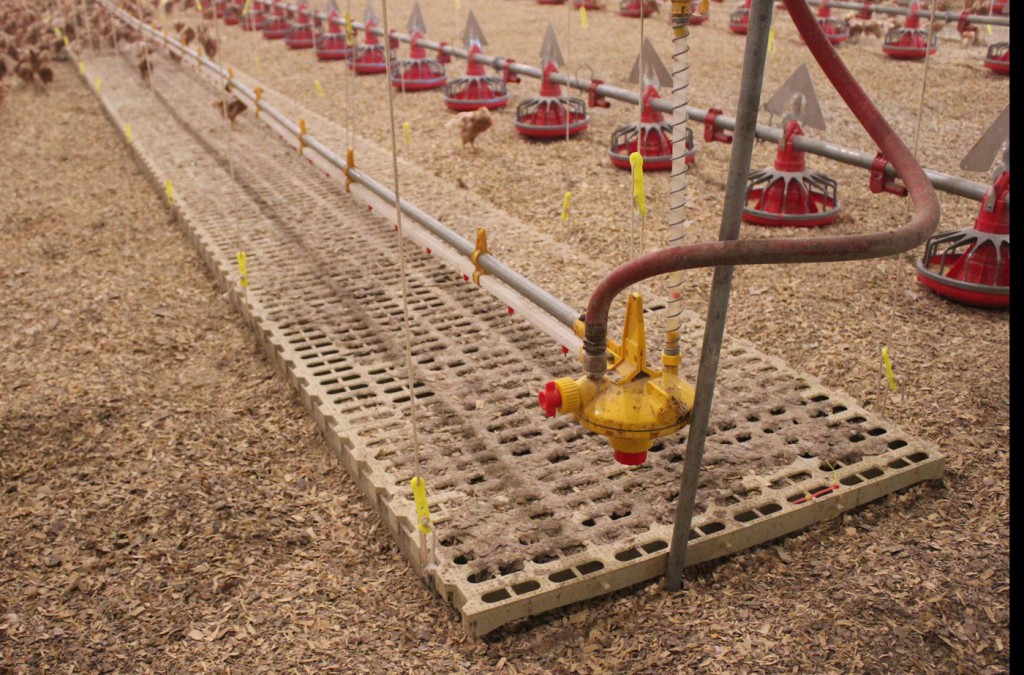
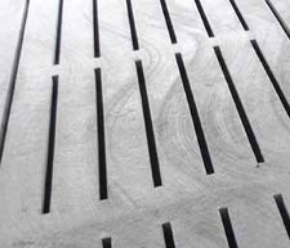
Look for damage on the side when cracks are visible on top
“The first thing to judge when you see a crack in slat is how deep it is. Surface cracks aren’t a big deal, but if that crack is deep or starting to separate, it becomes a concern. We look for damage on the sides. One of biggest problems comes from improper rebar placement. If the manufacturer placed the rebar too close to the sides or bottom, you’ll see it swell and pop out the concrete.”
Support beams are the cause of many slats failures.
“Really the support beams are a bigger problem than the slats. Everyone can easily see if slats are bad, but checking the beams takes more work. We shine a flashlight down through the slat openings and look closely at the beams. Many times slats on top appear to be fine, but the beams will be shot. You also have to look at both sides of the beam; one side can look perfect and the other side will have rebar hanging out of it.”
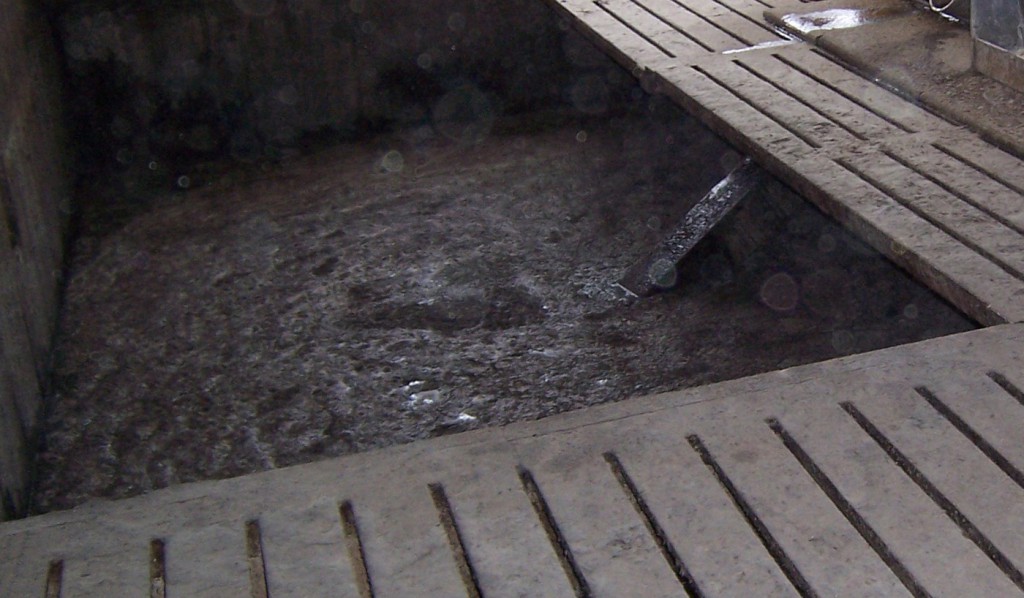
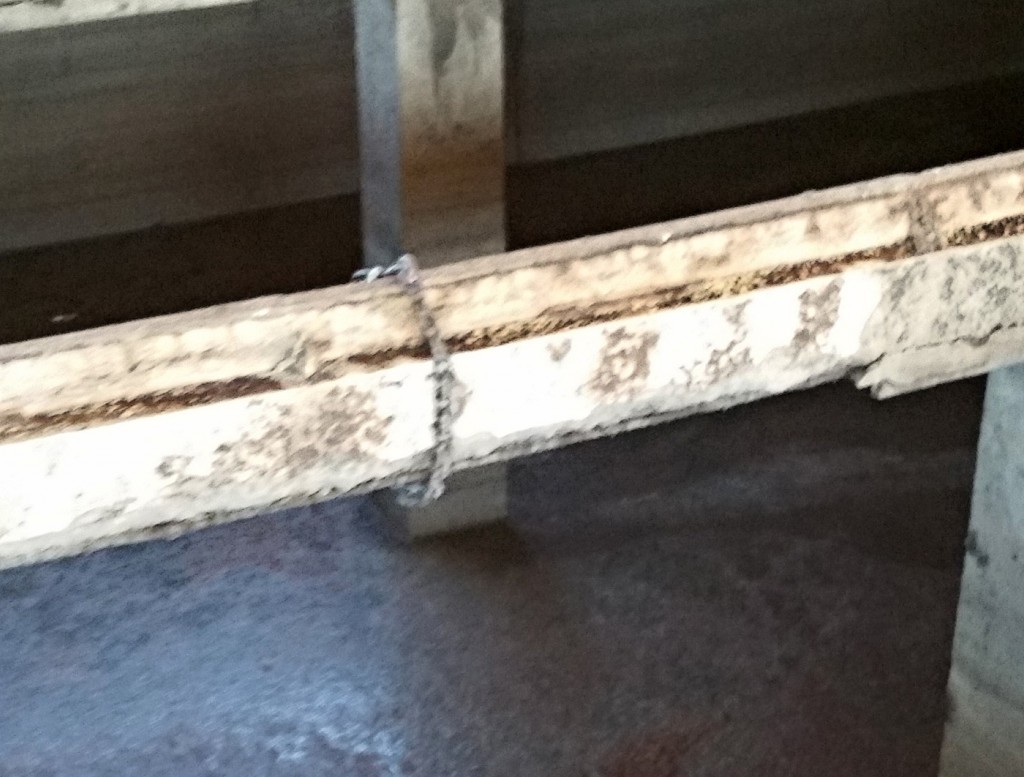
Crumbling slat pocket caused this beam to fall
“Another overlooked area is the amount of bearing surface the beam has on a column or end wall pocket. We like to see at least 3” of bearing surface. Over time a building can shift, especially on the end walls. We recommend producers add a pre-cast column at the end wall when building new barns.”
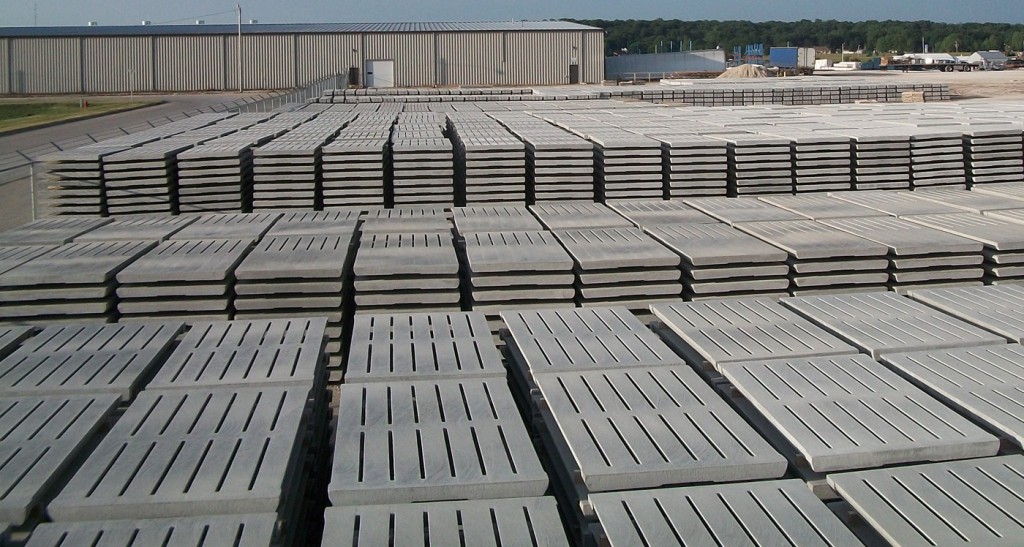
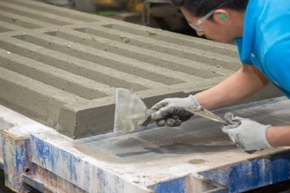
Dry cast slats, machined finished slats in the yard.
Andy joined in, “This year we set slats produced by 13 different manufacturers. The building owner buys the slats; we only set them. Let me tell you, every company can build good slats some of the time, but only a few can build good slats consistently. The key is quality control. The best manufacturers use machine finished, dry cast concrete and steam cure the slats.”
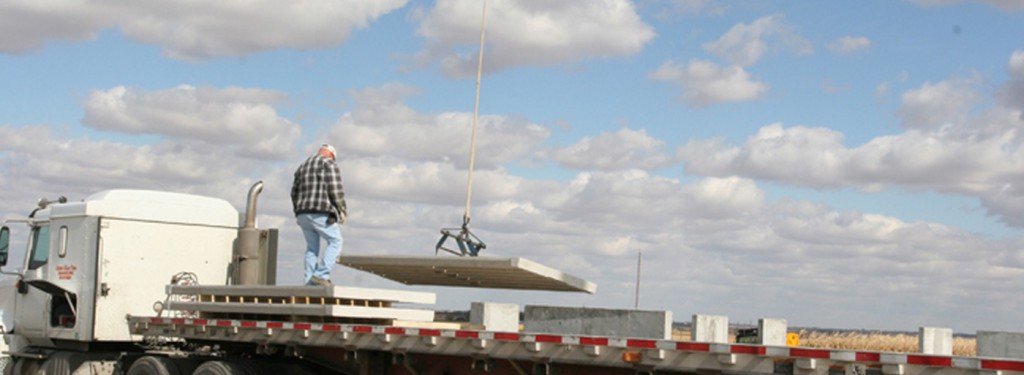
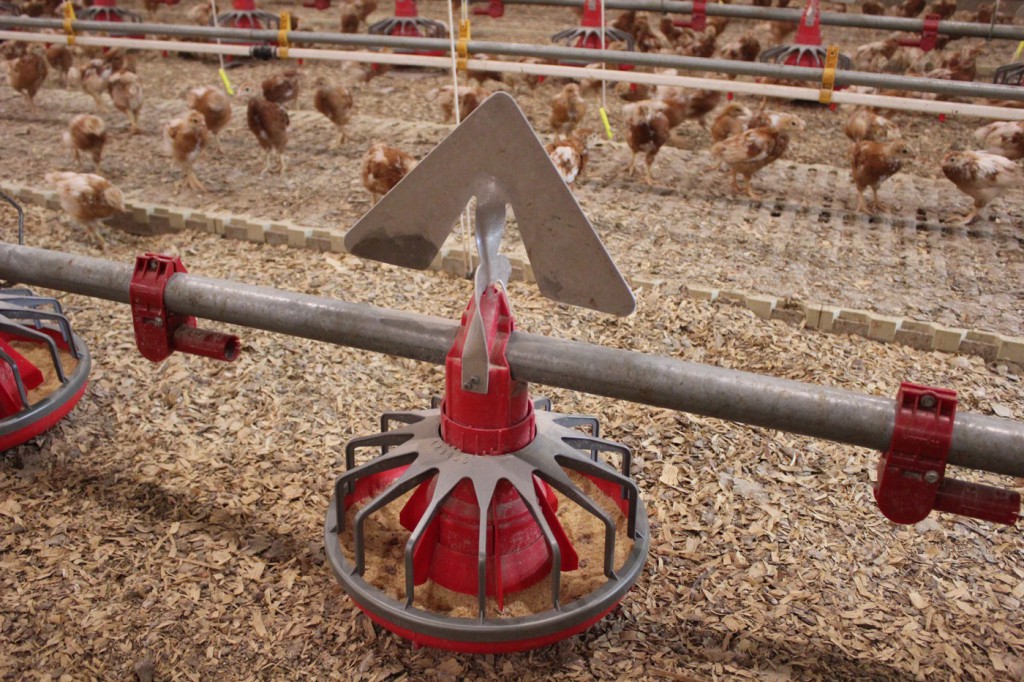
Setting top quality slats on new construction project.
“Biggest mistake I see in new construction is trying to save money on slats. A guy builds his first barn and thinks all slats are the same. Well, they aren’t, concrete slats are not a commodity product, and there is a difference. Spend the money up front, and you won’t be calling us to replace them near as soon.
Not everything at Altenburg Construction is work. Andy likes to build and race stock cars. We found this in the back shop.