
 Україна
 Méjico
Following these four steps will help you get the best price for your production site.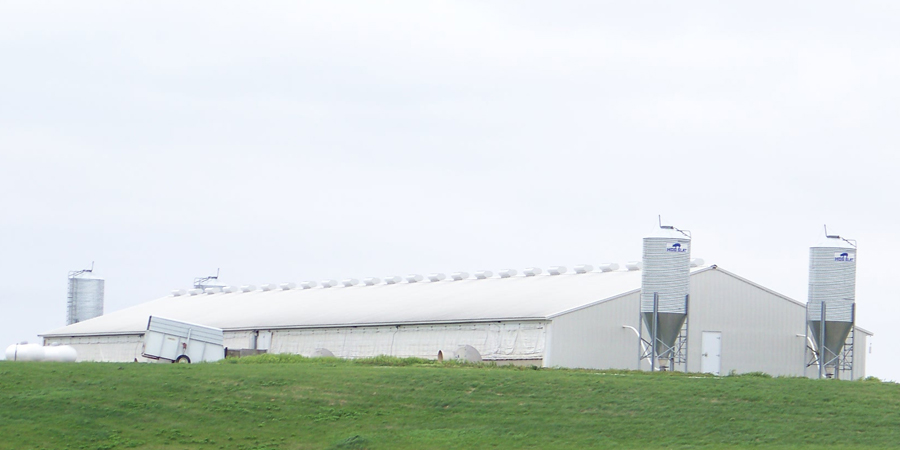
1) Hire the right realtor...you aren't selling a cornfield.
While a local ag realtor might be the right choice for listing farm ground, a realtor specializing in swine production facilities will be a better option. This type of realtor will help you establish a realistic selling price for your facility by performing a comparison analysis against similar buildings. Firms regularly performing appraisals of livestock buildings will give you the most accurate evaluation.
2) Make a good first impression...and that starts with the realtor.
"The first thing a potential buyer sees is the pictures I take during the initial site visit,” says Dale Kenne, a realtor with Agri-Management Services located in Marion, Iowa, "No one expects a manicured yard and gravel borders but at least the grass should be mowed, and the trash picked up. I recently visited a finishing building that had been remodeled several years earlier and still had the old equipment laying around with weeds growing through it. It was hard to take a picture without some discarded equipment showing up in the background."
3) What about remodeling...how do you get your money back?
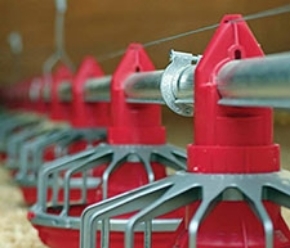
"We generally feel the building should be capable of functioning with its existing equipment," Dale explained. "Even if the feeders are needing replacement, and the ventilation system an upgrade it doesn't make much sense for the seller to do the remodeling. In most cases, the new owner will probably need to make those changes based on the requirements of their chosen integrator."
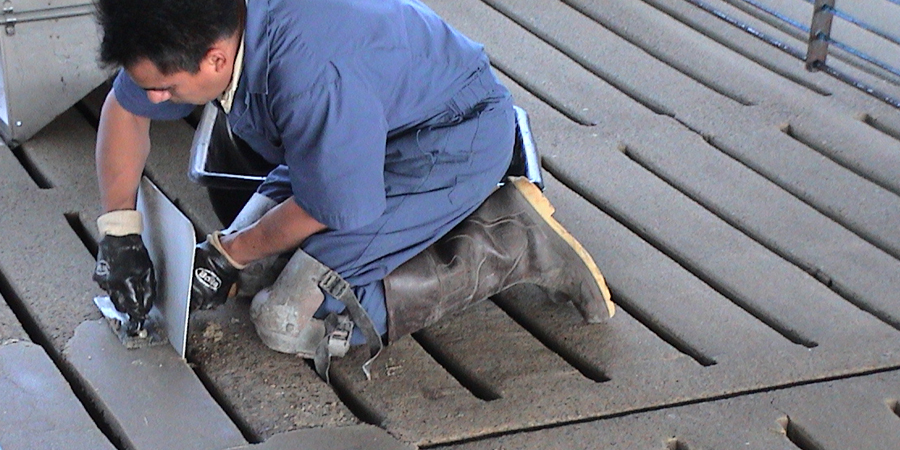
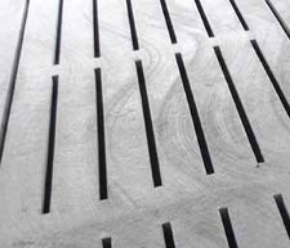
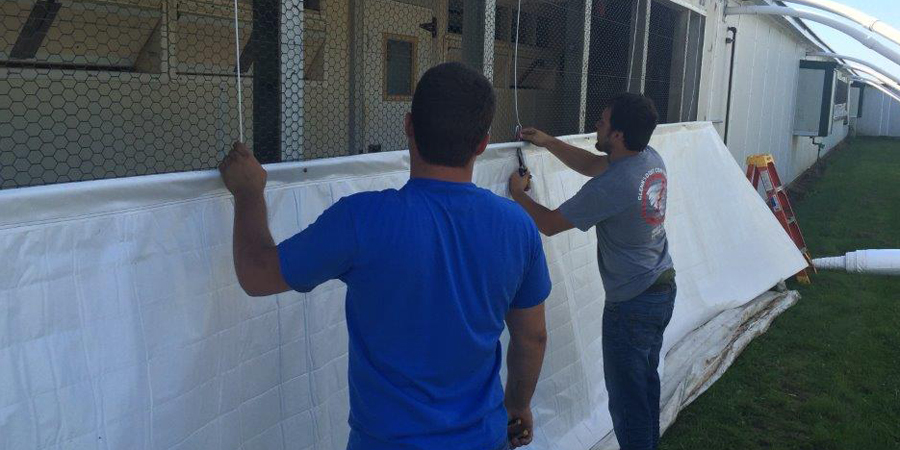
"The existing equipment doesn't have to be new, but it should be in good working order, Kenne says "Patch any badly worn slat areas around feeders, and waterers with Con-Korite™ and replace any severely damaged slats. Treat and cover any rust spots on the ceiling with a repair product like WMC-100. Tighten the legs on the penning and replace any missing gate rods and latches. Replace curtains with holes or tears, repair the curtain ropes and rehang missing curtain pockets. Doors, especially those on the exterior, should fit tight and have any missing knobs replaced."
4) Little things make a difference... and they aren't expensive.
"Getting a building ready to sell usually doesn't cost a lot of money," Kenne says. "Some simple things include replacing the burned-out light bulbs, knocking the cobwebs down and washing the alleyways. You wouldn't believe the number of buildings I go in and see missing fan shutters and electric covers, ceiling inlets hanging open without counterweights, etc. In the office area, the showers and restrooms should be clean enough your mother would be OK using them!"
Dale Kenne can be contacted at dale@agri-management.com


