
Frank Harris, Head of Hog Slat’s Engineering Department, spoke with us about the development of the GrowerSELECT product line.
What is the focus of the GrowerSELECT product line?
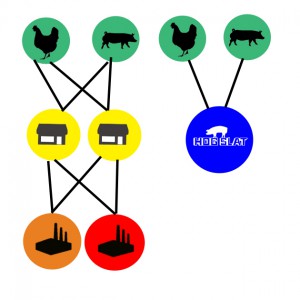
Hog Slat wanted to directly source products to reduce final cost to the end user. We knew we could lower the cost if we reduced the number of people that handled a product, and in many cases improve the quality.
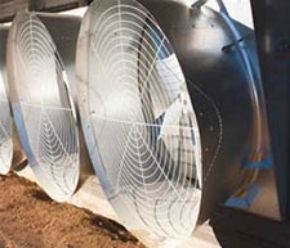
Replacement motors for fans and feed systems were the first items we started to direct source. OEM Fan and feed auger companies do not produce their own motors; they all buy from the same motor companies.
We did not just buy off-the-shelf motors. We specified certain improvements in the motors based on our experience. For instance, one problem according to our service department was motor shaft breakage. We changed the shaft diameter blend radius and specified a hardened shaft of 1144 steel. We eliminated the problem.
Some people may have the perception that GrowerSELECT products are just cheap generic copies. How would you answer that?
I am not going to tell anybody that we invented feed systems or fans. However, in almost every case we are able to look at existing products and make improvements.
We evaluate every item developed for the GrowerSELECT lineup in three different ways.
First, from an engineering standpoint.
Can we make this product out of different material? Can we make it easier to manufacture? Can we change the shape or size to eliminate problems?
Second, we evaluate from a repair standpoint with feedback from our service departments.
What are you fixing out in the field? Where is this product failing? What would make the product easier to service?
Third, and most importantly, we evaluate from our customer’s standpoint.
Is this the right product? Is this the right size? What is giving you the biggest headache in using this product? What changes would you make?
After gathering this information, we conduct the Process Failure Effect Mode Analysis or PFEMA. Simply put, this is a logic method for determining why a product fails and how to correct it. We document the process and can refer back to it when problems arise.
We then create detailed 3D computer models of the proposed product and subject it to computer-simulated stress tests.
Wait a minute; you can test the product before it is even built?
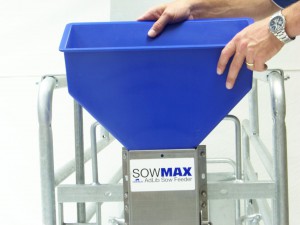
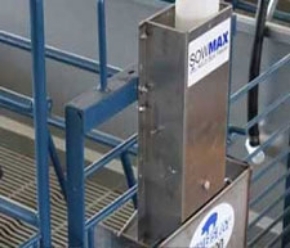
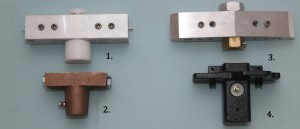
Yes, here’s a good example. When we first designed the blue plastic hopper for the SowMAX, we did not have a lip at the top. When tested via computer simulation, we realized it might crack when impacted, for example if a feed cart banged into it. We added the lip to strengthen the hopper and eliminated a potential problem.
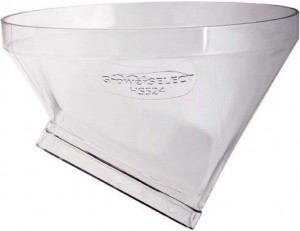 Another example is the GrowerSELECT® clear upper boot, injected from impact-resistant polycarbonate. It does not have to be as thick as plastic boots used by other manufacturers to have a superior breaking strength. We were able to “tweak” the material thickness and avoid adding unnecessary additional cost to the end user.
The next part of the process is to send the drawings to a manufacturer and order sample parts to test against a quality control process known as PPAP or Production Part Approval Process.
Okay, what does that mean?
It is the same quality control process the automobile supply industry uses. It means we take the sample products and measure them against the drawings we created. We particularly identify those measurements most critical to the quality of the product.
Once we are satisfied that the sample batch is correct, we then order a small production run. This first-production run is then field tested. Our service group installs them on farms, and we monitor the results.
After field-testing is completed, we release the product to manufacturing.
 Before receiving those released products into warehousing, our Quality Control department conducts a series of QC checks. Keith Riley, QC department head, creates an Incoming Inspection Document for each item. This establishes a benchmark of quality checks used to test production parts. This is not only done the first time we receive the product, but every time that product arrives from the manufacturer.
How many people work in Hog Slat’s engineering department?
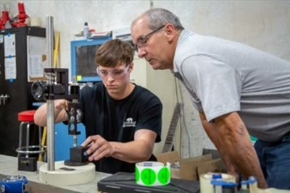
We have nine engineers and six Quality Control members. We have a good core of experienced engineers with several younger guys that we have hired…I like to say we have just the right blend of “gray hair” in the group. I have to say the younger guys have a great “toolbox” they bring with them. They are contributing with new technology. A good example is the 3D printer we recently added to the department. It is allowing us to perform some things we had not been able to do before.
What are future goals for your group?
Continuous improvement of products. Just because we have a product developed doesn’t mean we quit trying to make it better. We think we can improve motors. One of the principle reasons we are able to offer a two-year warranty is that we have such a very small percentage of motors returned under that warranty. But, we have some ideas that will improve these motors even more.
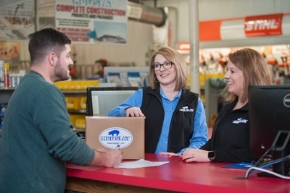
 Hog Slat has a very unique position in the industry. We are responsible directly to the end user. It is our own people installing and servicing the products we sell. We cannot pass off problems to someone in the supply chain; we are the entire supply chain to the end user.
We have access to company farms to test new products. We have feedback from our own service crews. Our goal is to use these resources to improve product offerings and get those improvements to the market faster.
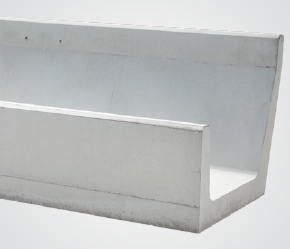
One of things I think we are the best at is identifying the optimum place in the world to manufacture a product. We are not just throwing everything to Southeast Asia. In fact, we have moved several products back to the United States. A good example is Classic Flood feeders, we started overseas but now these parts are molded in the U.S.
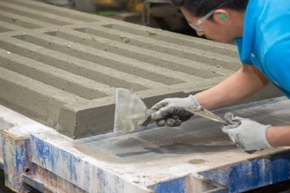
We do a lot of final assembly at our locations in Clinton, NC and Humboldt, IA. We source items from the U.S. and other parts of the globe, bring those components in to test, then assemble the end products. Using this process we have more control over the quality of the final product.

 Україна
 Méjico
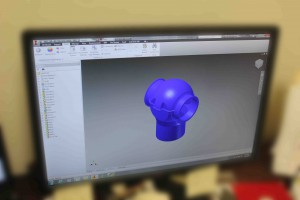
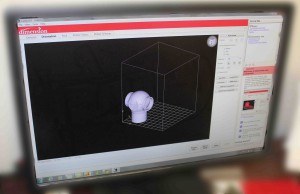 The cube in the screen represents the printer’s chamber, and the white image is a digital model. The program divides the object into digital cross-sections and the printer builds the object in layers. The printer makes multiple passes spraying very thin layers of plastic until the final shape is complete.
  “You can almost compare the printer to a giant glue gun that accurately places liquid plastic down in precise layers,” Andrew said, “The process can take from several hours up to several days depending on the size of the item. The maximum size part we can print is 10” x 10” x 12” tall”
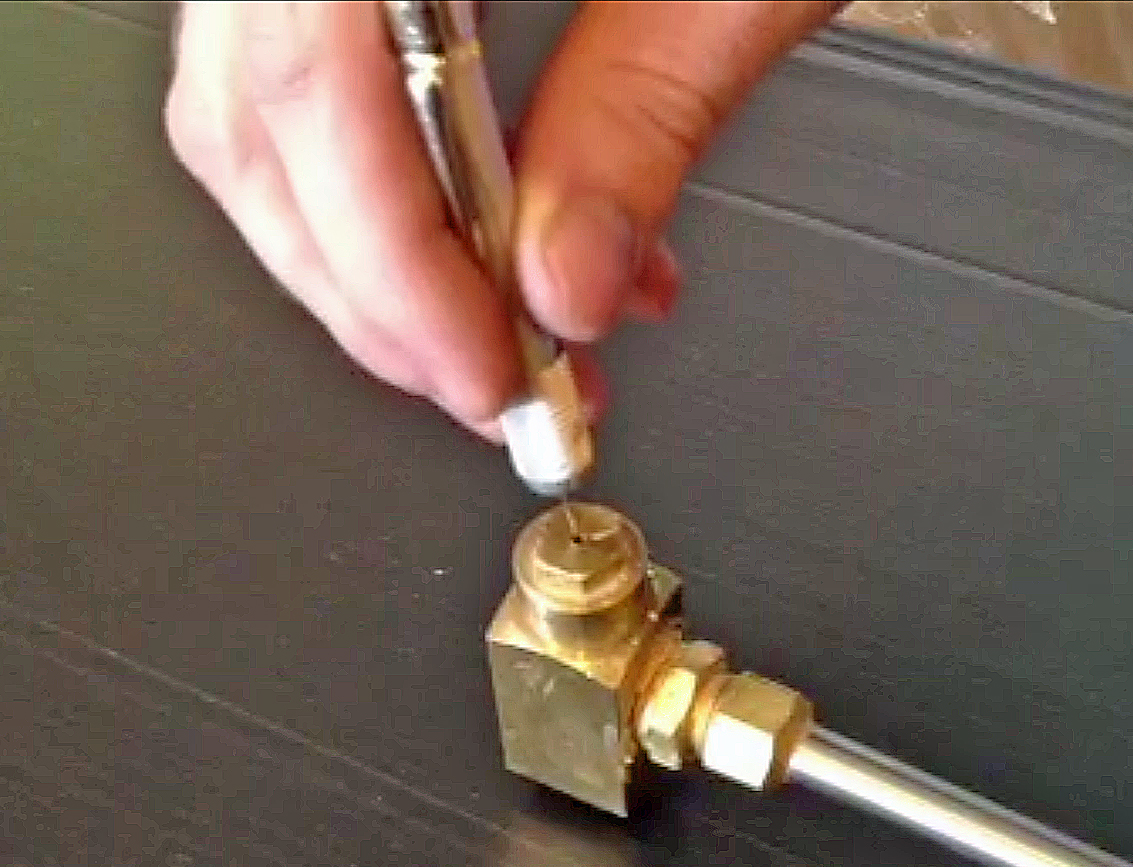
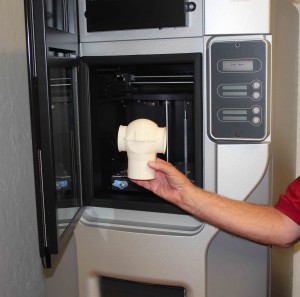 “We were able to take the prototype drop adaptor and test it on both the metal and plastic feed tubes. We made a few small dimensional adjustments and proceeded with complete confidence that the final part would fit as we intended.”


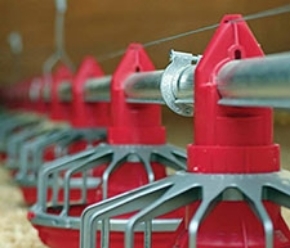
 Jeff, you have purchased several Grow-Disk™ systems, why did you decide to install this feeding system?


